When the King Went for a Walk: Messinger vs. Matthias Rack, 1989
- 3 minutes ago
- 2 min read
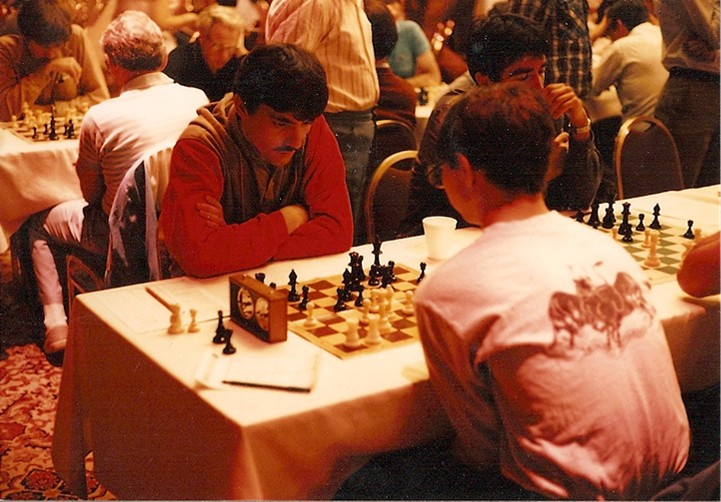
The Cochrane Gambit is one of those openings that seems almost absurd when you first see it. White willingly gives up a knight on f7, allowing the black king to capture it, and then tries to prove that the king has paid a much higher price by stepping into the open.
That is exactly what happened in Messinger–Matthias Rack, Berlin, 1989, a miniature that lasted just 11 moves. Matthew Messinger is a relatively obscure name in the chess world. His opponent, Matthias Rack, a relatively stronger player than Messinger, was a German player born in 1965. Rack was a strong tournament player, reaching a peak Elo of around 2179.
The Match
Interestingly, Rack appears to have had considerable experience with the Petrov - making this miniature particularly amusing as he fell into a trap facing the very same opening!
The game begins with the textbook set of moves - 1.e4 e5 2.Nf3 Nf6 3.Nxe5 d6 4.Nxf7!?
White throws the knight onto f7 with an offer to sac the piece. And, Rack accepts the sacrifice with 4...Kxf7. Conjuring Rack’s experience with the Petrov, it did appear that the Knight sac was a bit of an overstretch. White has given up a knight for two pawns, but the black king has been dragged away from its normal shelter and stood exposed.
This is the entire philosophy of the Cochrane Gambit: White isn't sacrificing material for nothing, white is buying time and access to the black king. The game continues...5.d4 c5 6.dxc5 Be6 7.e5!
The attack now becomes much more serious.White doesn't waste time trying to win the sacrificed material back. Instead, Messinger opens the center and gains tempi against Black's pieces. The pawn on e5 attacks the knight on f6, while Black's king remains awkwardly placed on f7.
After 7...Ng4, Rack moves the knight away, but White has another tactical resource as the Queen sits ready to charge with 8.Qf3+!. The queen immediately exploits the exposed king.
The king retreats with 8...Kg8, but the damage has been done. White's pieces are coming into the attack while Black is still struggling to coordinate.
And, then comes 9.exd6, White removes another important central pawn.
9...Nc6 10.Nc3 Rc8
Black develops and tries to consolidate. But there is a problem. The knight on g4 has become vulnerable.
The final blow comes in the form of 11.QxBg4! The continuation leads to a mate in 3 in the form of 11...Bxg4 12. Bc4+ Be6 13. Bxe6#
The beauty of this miniature isn't that 4.Nxf7 magically wins by force in every position. It demonstrates something much more important about gambit play. White sacrifices material and receives time, activity and an exposed king in return.
Rack's king never got the opportunity to become comfortable. By the time Black tries to organize his pieces and create some breathing space, Messinger had already taken control of the position.
And there is a wonderful end White started the attack with a knight to chase the king and eventually also sacrificed his Queen, resulting in an indefensible situation for Rack, which led to his resignation.


Comments